Saturday, February 21, 2015

Dragon Knight: Father of Dragons Armor

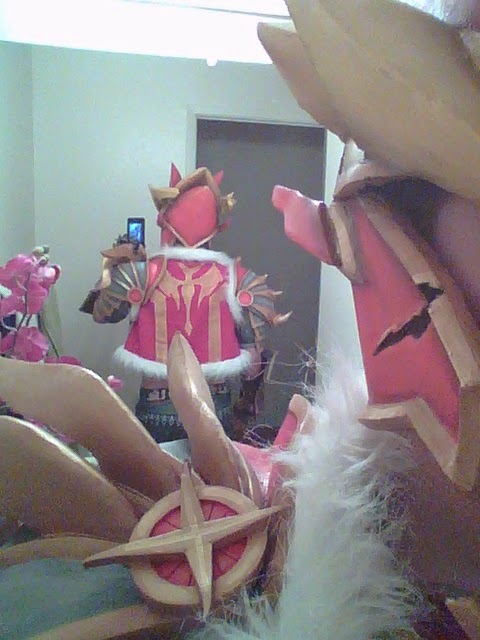
So I finally finished to rest of the Dragon Knight armor. I can already tell that I learned a LOT from this cosplay compared to Legion Commander. This project had a lot more detail and complicated shapes. Honestly, that why I picked this skin; I'm not a huge Dragon Knight player, but dragons + knights + shield and sword= AWESOME.

Though I skipped documenting some steps, I think most things are self explanatory. (theres a lot of pictures for this post)


The back of the chest piece.... its kind of like a bra...


I really like the high neck line thing


I forgot to document the making of the shoulder pads.... which sucks because they would actually quite hard, but fun to make
I like to seal the EVA foam with silicon cocking... its messy but cheap and fills gaps pretty well


the last part of painting is adding the low and high lights. For the gold, I like using Raw Umber of the low lights. It gives it a slight dirty look.


The first plate of the outer thigh armor


Cocking

silver


red and gold (the triangle thing is y belt buckle meant to look a bit like my shield)

Butt flap


I put this all together and strapped it onto the belt so this all comes off and on in one peice

Had to actually break down and buy those tight girly work out pants.... ew

A 2 piece guantlet


The pieces behind the gauntlets are bicep armor.


All the upper body pieces (minus the furry vest)


knee pads to stab-eth you with

The shin and calf guard are 2 pieces that hinge together at the top and velcro at the bottom... until i find something better, velcro with have to do


So I tried everything all put together... and was kind of unsatisfied with the chest piece.... I look like a tug boat.


BAck to the drawing board for a chest piece. I liked the top most one, but it didn't look anything like the original, non-gender bent version, so I had to change some things.

Before on the left, and after o the right


The idea of adding fur to costumes is fun... until you actually have to do it. Then it just looks like some furry animal molted in your work space..

Even with my stomach showing.... this thing is hot... maybe in need to install a cooling system.... how ever the hell people do that


The while shi-bang! front

back
So This is just a process post. I'll be sure to post some awesome action shots when I can!

Friday, January 23, 2015

Dragon knight Sword

Here is one (of hopefully 3) swords I'm making for Dragon Knight.

Again, with all my weapons so far, a part of this was a materials test. And I think this time I finally found the material that I was looking for. A big problem I have with the foam that I use is that it is easily dented, so I've tried:

polyurethane- cant get a thick enough layer to actually protect the foam
fiberglass resin- eats the foam like a fat kid eats cake
latex layer then fiberglass resign- yeah... didn't help

Then I looked up how people make home made surf boards and found an epoxy resign call "Klear Kote". This stuff is AMAZING! Its hard, but flexible (super flexible) and doesn't eat at the foam. So now I can just make surfboards..... that look like swords.

3 of the swords I'm hoping to do. I'll do the middle one first


I skipped taking a picture of the PVC and wood skeleton on the inside. Here is the re-glueing stage.


More sanding

I casted the little gems with another kind of resin and mixed some gold/orange acrylic with it


all put together, pre-epoxy

close up on hand guards

And the final with paint! This paint job actually took a while because I wanted a warm tone to the metal.


Tuesday, January 20, 2015

Dragon Knight Helmet

Here is another part of my Dragon Knight "Father of Dragons" set. I'm thinking about doing a gender-bent version of this character because most of the cons are super hot, and this guys has a lot of armor. The biggest difference would only be in the torso armor (coming up next).

Anyway, the paint job for this piece kind of looks like a Pokemon... or Digimon or something. I might have to change that yellow after finishing the rest of the armor.


I'll wear this under my helmet to keep it in place.

This was the most embarrassing part: looking like a cone head.... or a pharaoh 


Adding that Gundam flare


I love putting damage on my armor... but the hardest part is that first scratch. after that, there no going back

the red


...the yellow

and the finale.... still looks like a pokemon